Trusted by:
Updated: January 14, 2026
13 min read
5 Ways to Make Multiple Certificates with Different Names
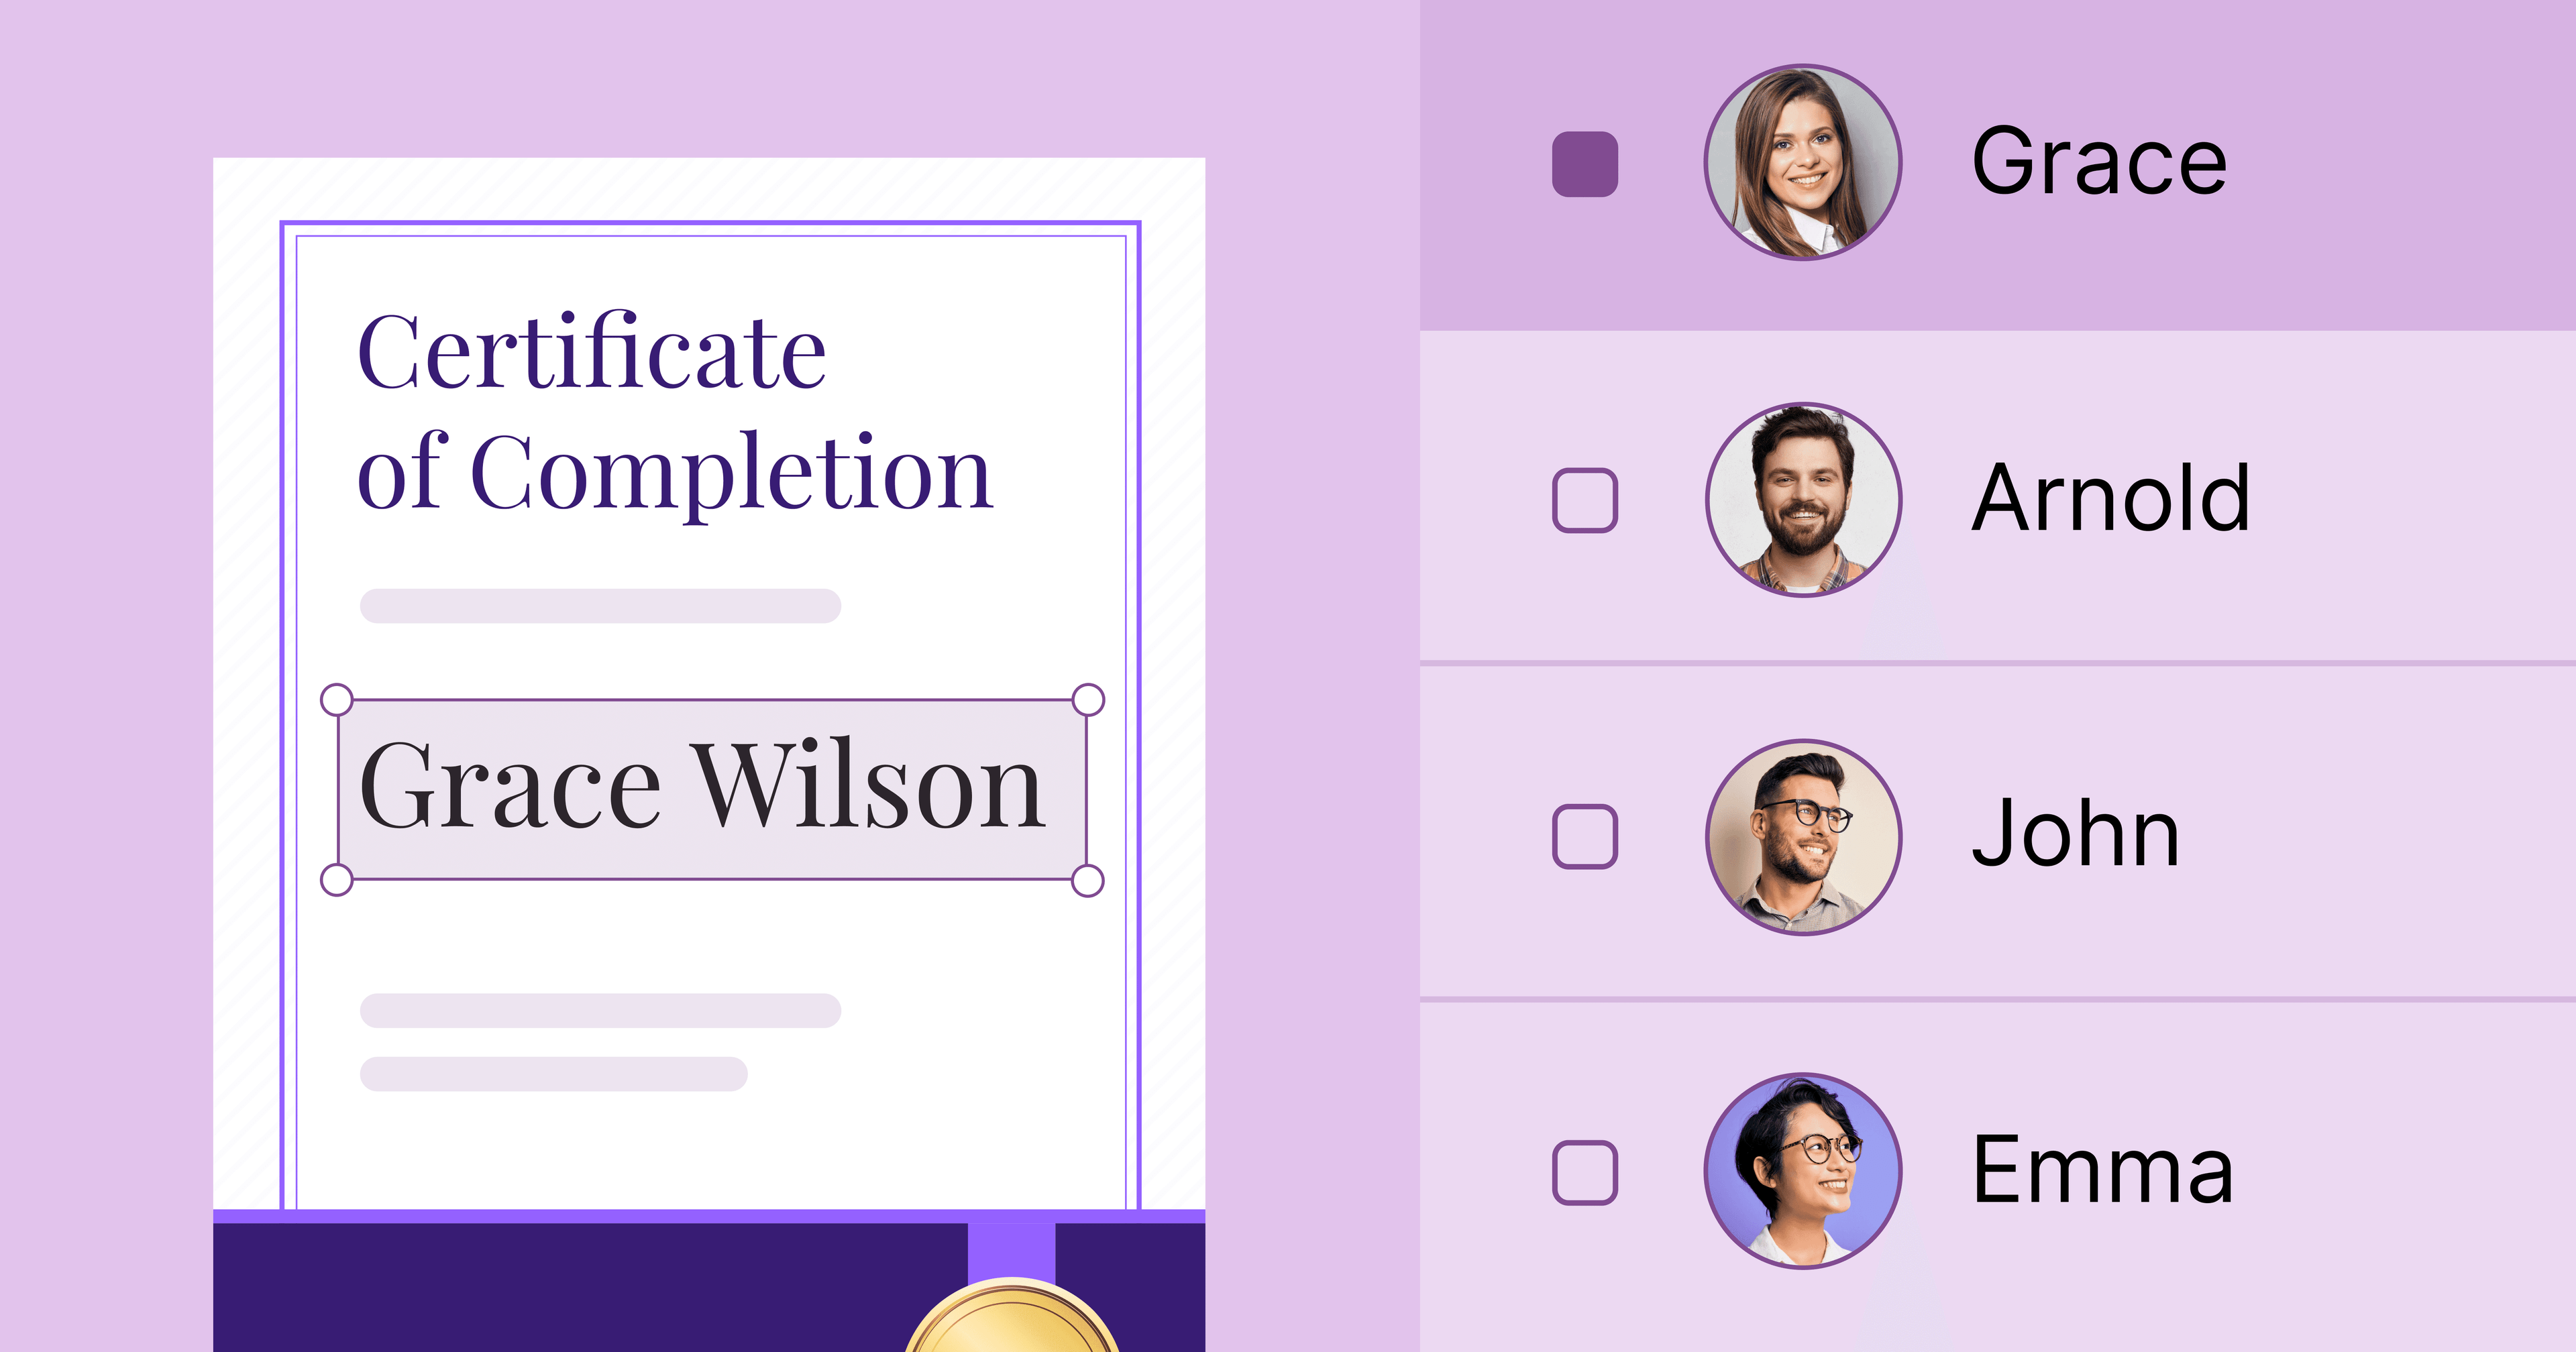
Generating multiple certificates can be a challenge for many, especially if they contain different names. We've prepared an article to help you solve your problem — check out the 5 most effective ways to make personalized certificates at scale in 2026!
Creating certificates one by one is slow and easy to mess up, especially when you’re working with dozens or hundreds of names. The good news? You can generate certificates in bulk automatically, if you use the right tools.
In this guide, you’ll learn how to auto-generate certificates with different participant names, step by step. We’ll show you multiple approaches, from fully automated to manual, so you can choose what fits your workflow best. You’ll also see why tools like Certifier are the best option.
Let’s get straight to the fastest and most reliable ways to generate certificates at scale.
TL;DR
You can generate certificates with multiple names automatically using different tools.
Certifier is the fastest option – upload a spreadsheet, use dynamic fields, and issue certificates in bulk.
Microsoft Word and Photoshop support bulk generation but require setup and technical steps.
Canva and Google Slides rely on manual duplication and don’t scale well.
For speed, accuracy, and automation, a dedicated certificate generator works best.
01 Certifier - make certificates with multiple names in a click
Certifier is a professional certificate maker, and with its help, you will be able to craft, manage, send, share, and verify your online certificates in bulk. But what’s most important today is that you will finally be able to generate dozens of certificates with different names without manually filling them.
Managing the certificate configuration and distribution process is a breeze with Certifier – a comprehensive credential management system that offers the ability to generate different credentials with various names. This process is simple, as you basically need to:
01Add dynamic attributes to your certificate design
02upload a spreadsheet with recipients’ data (for example, in XLSX, XLS, or CSV file)
03generate and send PDF certificates to all recipients in seconds
Alternative (even faster): use native spreadsheet integrations. Certifier connects directly with Google Sheets and Microsoft Excel.
This means participant data can sync automatically. When a new row appears or data changes, certificates are issued without re-uploading spreadsheets. It’s ideal for ongoing programs, webinars or recurring training sessions.
Now, let's get into the details.
Step 1: Prepare the certificate template
Sign up to Certifier (it’s free!) and head to the Designs tab.
Create and Send Digital Credentials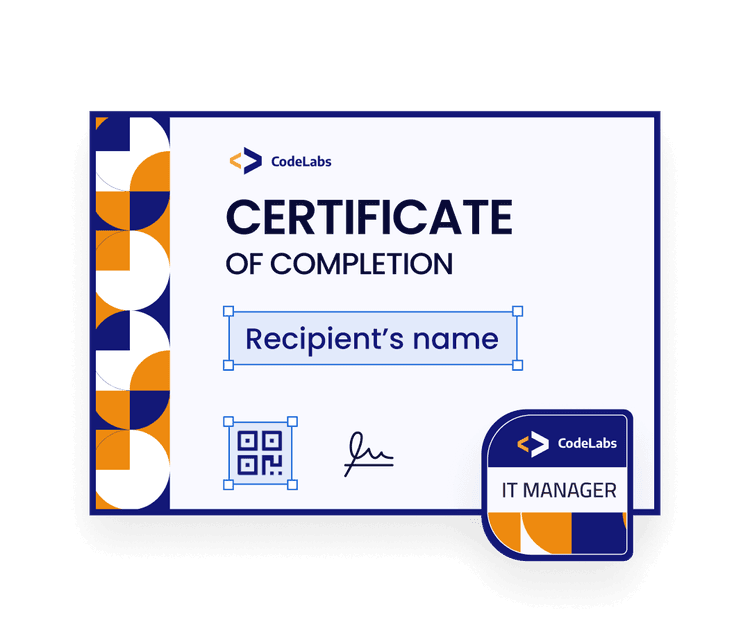
Click the “Create Design” button and choose the template. Add dynamic attributes to your certificate design.
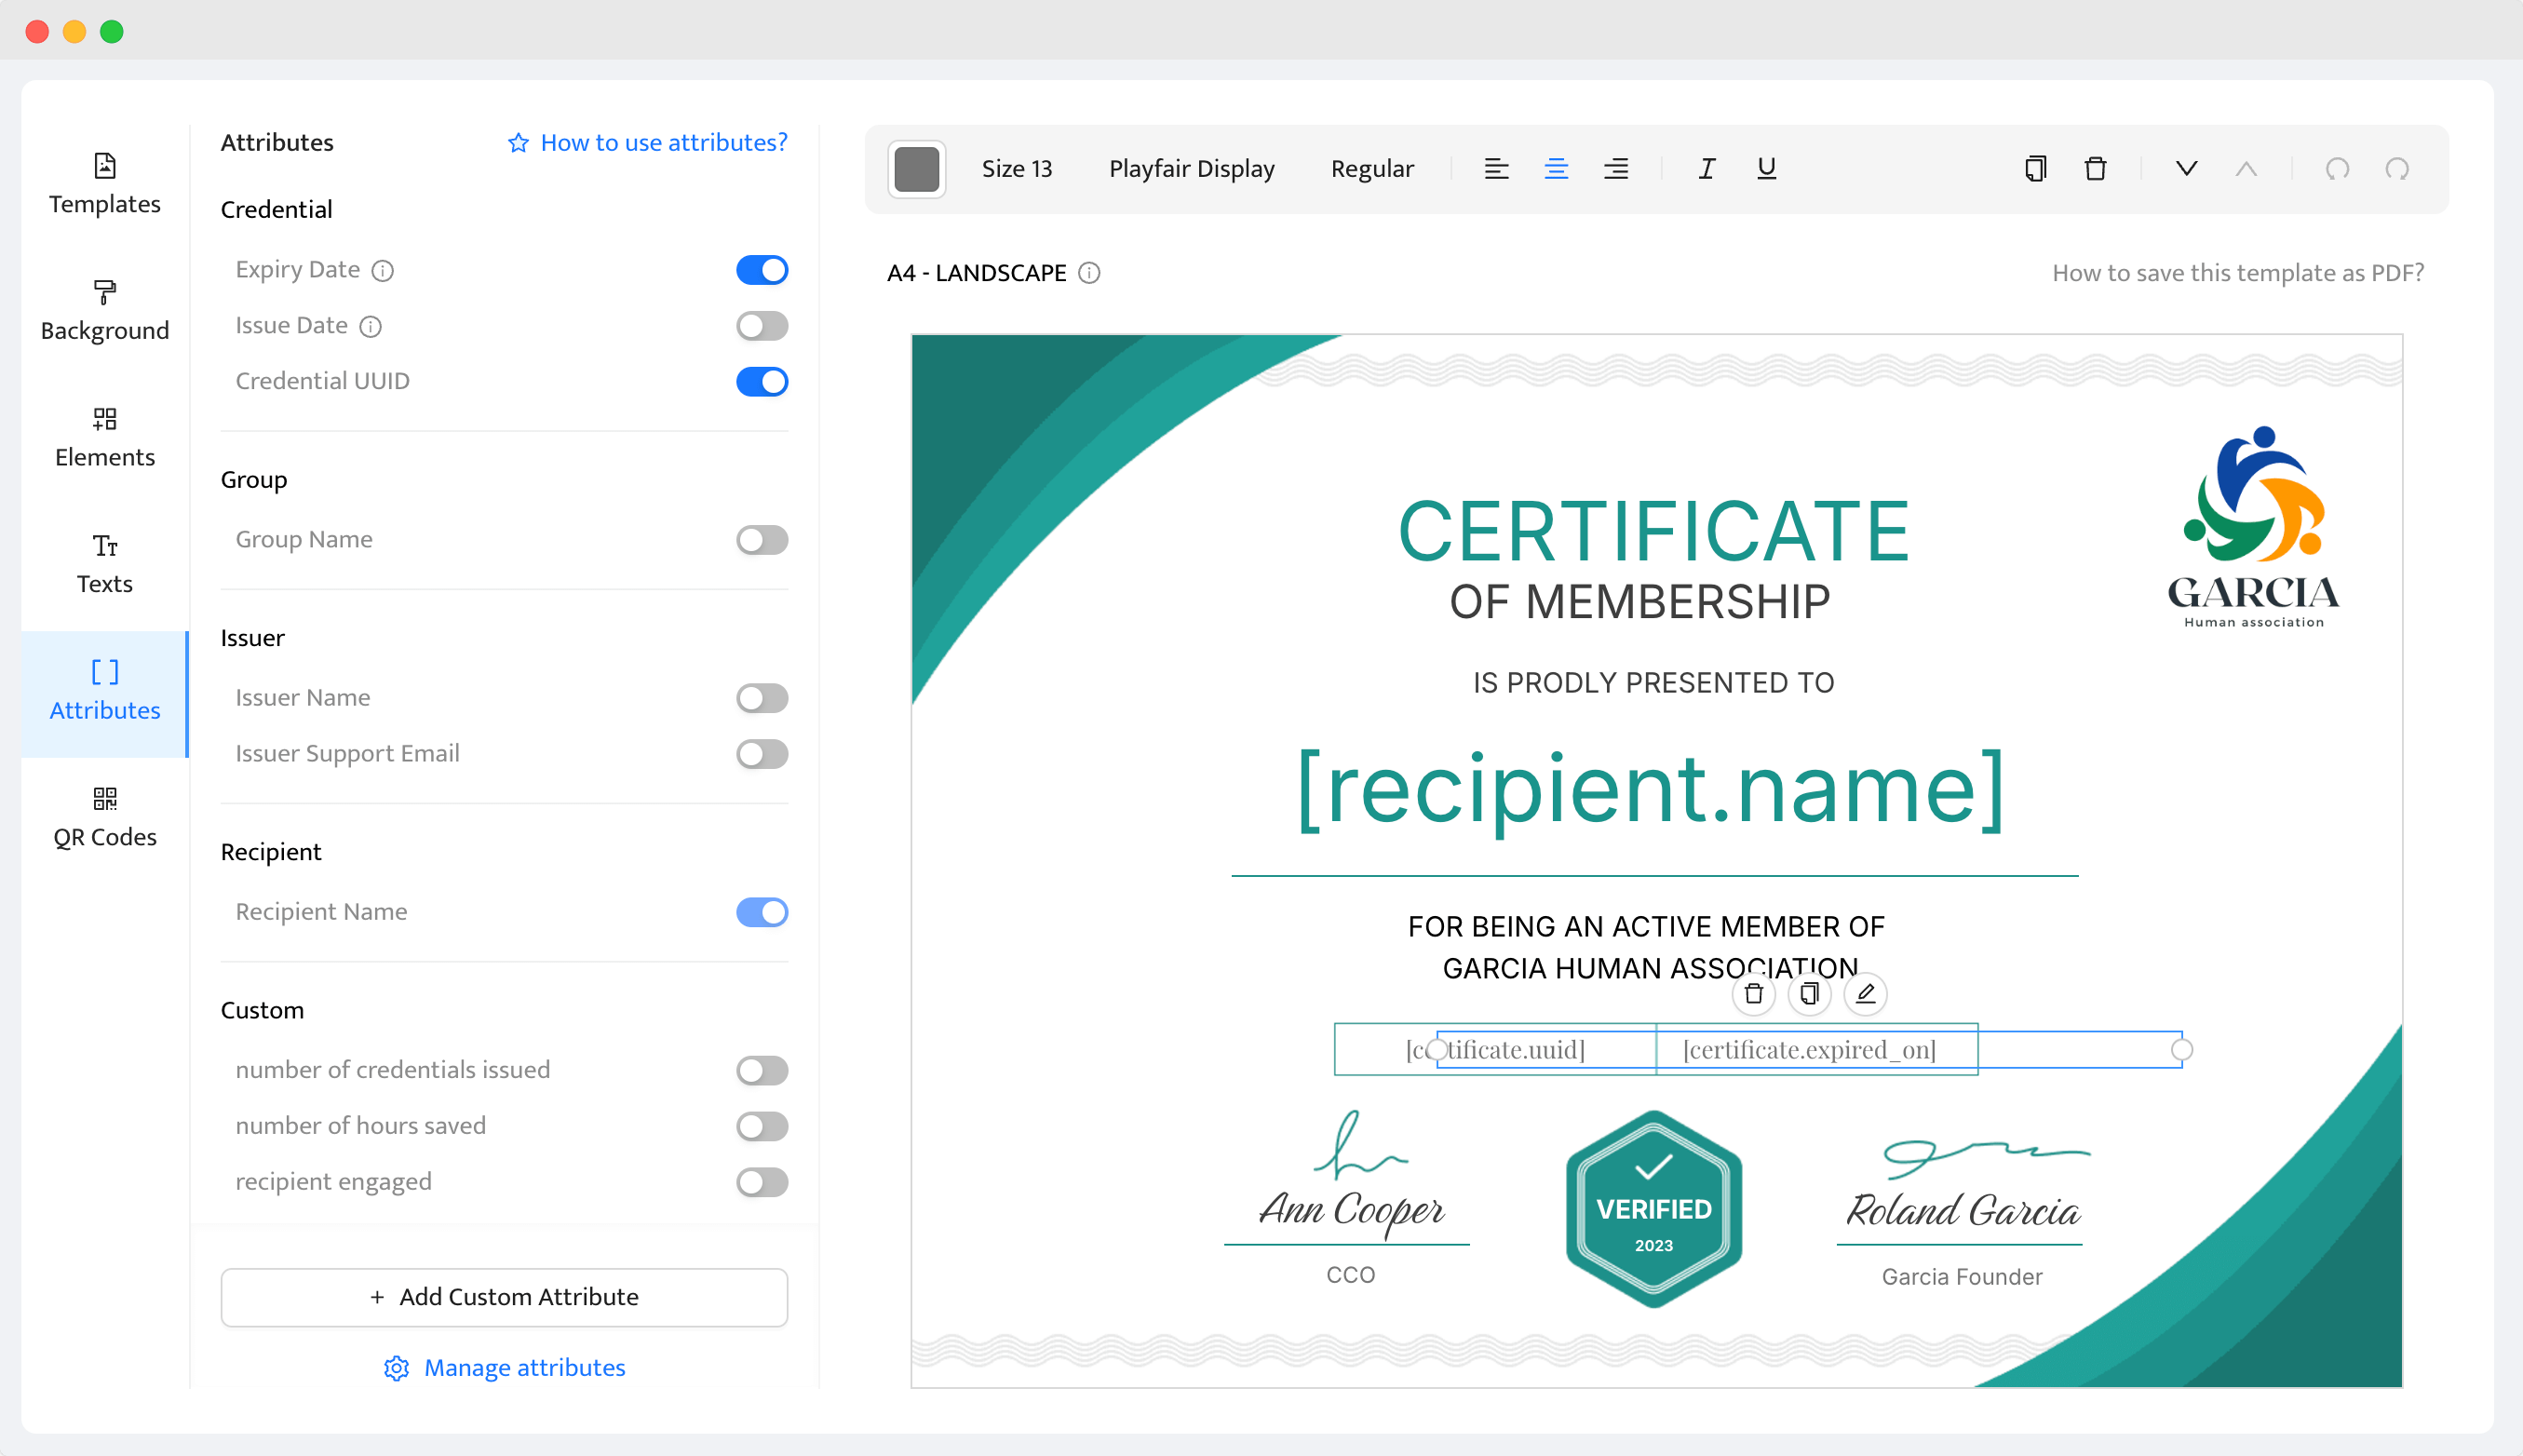
The dynamic attributes are the elements that automatically insert names on certificates according to the recipient's data, such as the certificate ID or the recipient's name. Thanks to that, Certifier will automatically generate certificates without your manual work. You can choose from default attributes or create custom ones.
Add and remove certificate elements with editing tools. Customize the template however you want to.
Step 2: Upload the recipients' data
If your certificate design is ready, you should now create a new course group in Certifier by going to the Groups tab and then clicking the “Create Group” button. Add all the necessary info and choose the certificate design that you want to generate multiple names on.
At this point, we will upload a list of participants in CSV, XLSX, or XLS file format. Go to the Credentials tab and click the “Issue Certificates or Badges” button. Verify that the data are accurate.
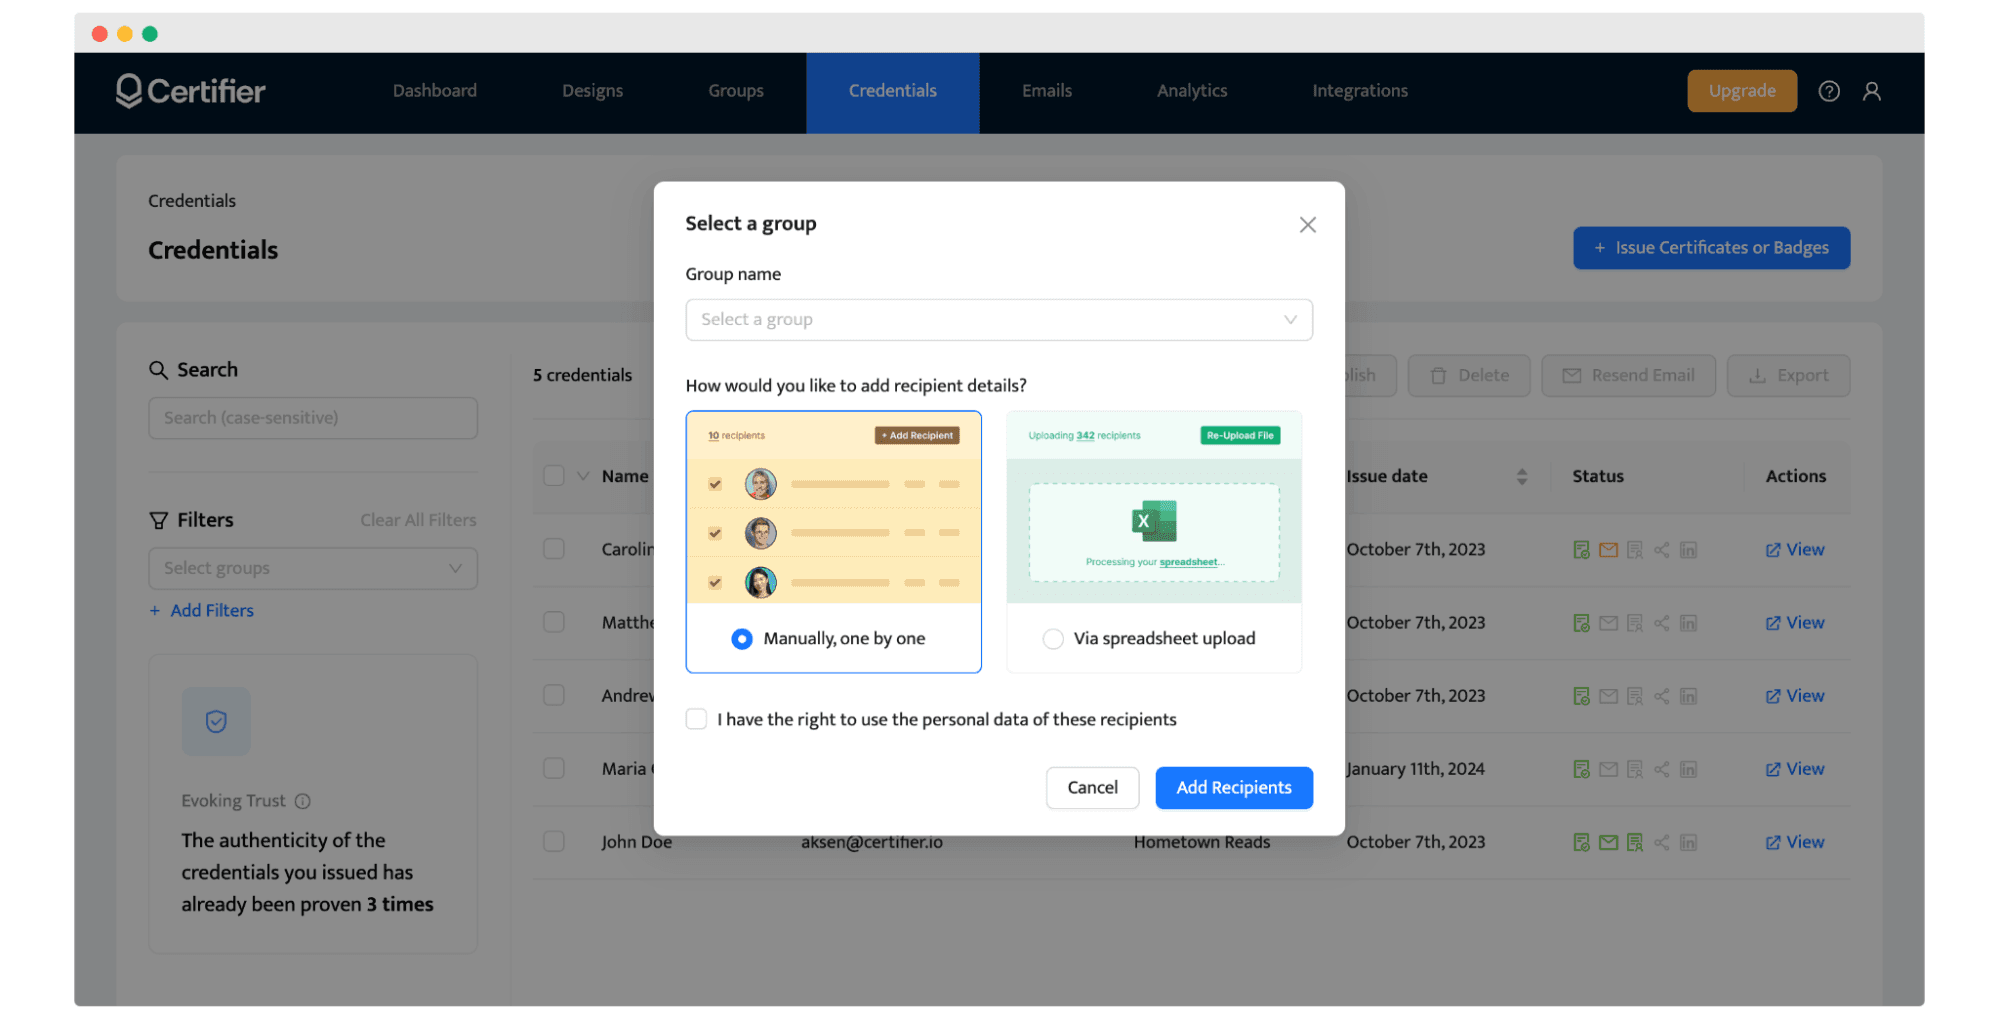
You can make such a certificate list yourself or generate it automatically by exporting the audience’s data directly from, for example, a webinar platform. Make sure you have all the necessary information so they can be uploaded correctly.
Tip: Automate certificate issuance with Google Sheets or Excel. If you don’t want to upload spreadsheets manually, you can connect Certifier directly to Google Sheets or Microsoft Excel. Once connected, recipient data updates automatically, and certificates are issued based on live spreadsheet data.
Step 3: Make multiple certificates with different names and send them out
If finished, you can now choose the list of recipients and click the “Publish” button to send them out. You can also export the documents to PDF files and print certificates out. It’s your choice!
This is all it takes. By using these steps, everything is organized.
Our digital certificate software is perfect for everyone – big or small organizations, as well as for individuals. You can create projects from scratch or quickly by using ready-made certificate templates.
And the features? Well, there are a bunch of them, both basic and advanced certificate options. This tool will allow you to build amazing awards thanks to, among other things, customizable and dynamic attributes, custom branding, multiple fonts, etc.
Do you want to see the whole process in detail? Check this video on how to make multiple certificates with different names:
02 Microsoft Word
Microsoft Word is not a professional generator like Certifier, but it also has some auto-generation tools. See how to make bulk certificate in Word with its mail merge feature.
But first, you need to design your beautiful certificate. You can do it manually with Microsoft Word tools or with a template – you can find many free Microsoft Word certificate templates. Once the design is ready, it's time to upload the certificate list automatically.
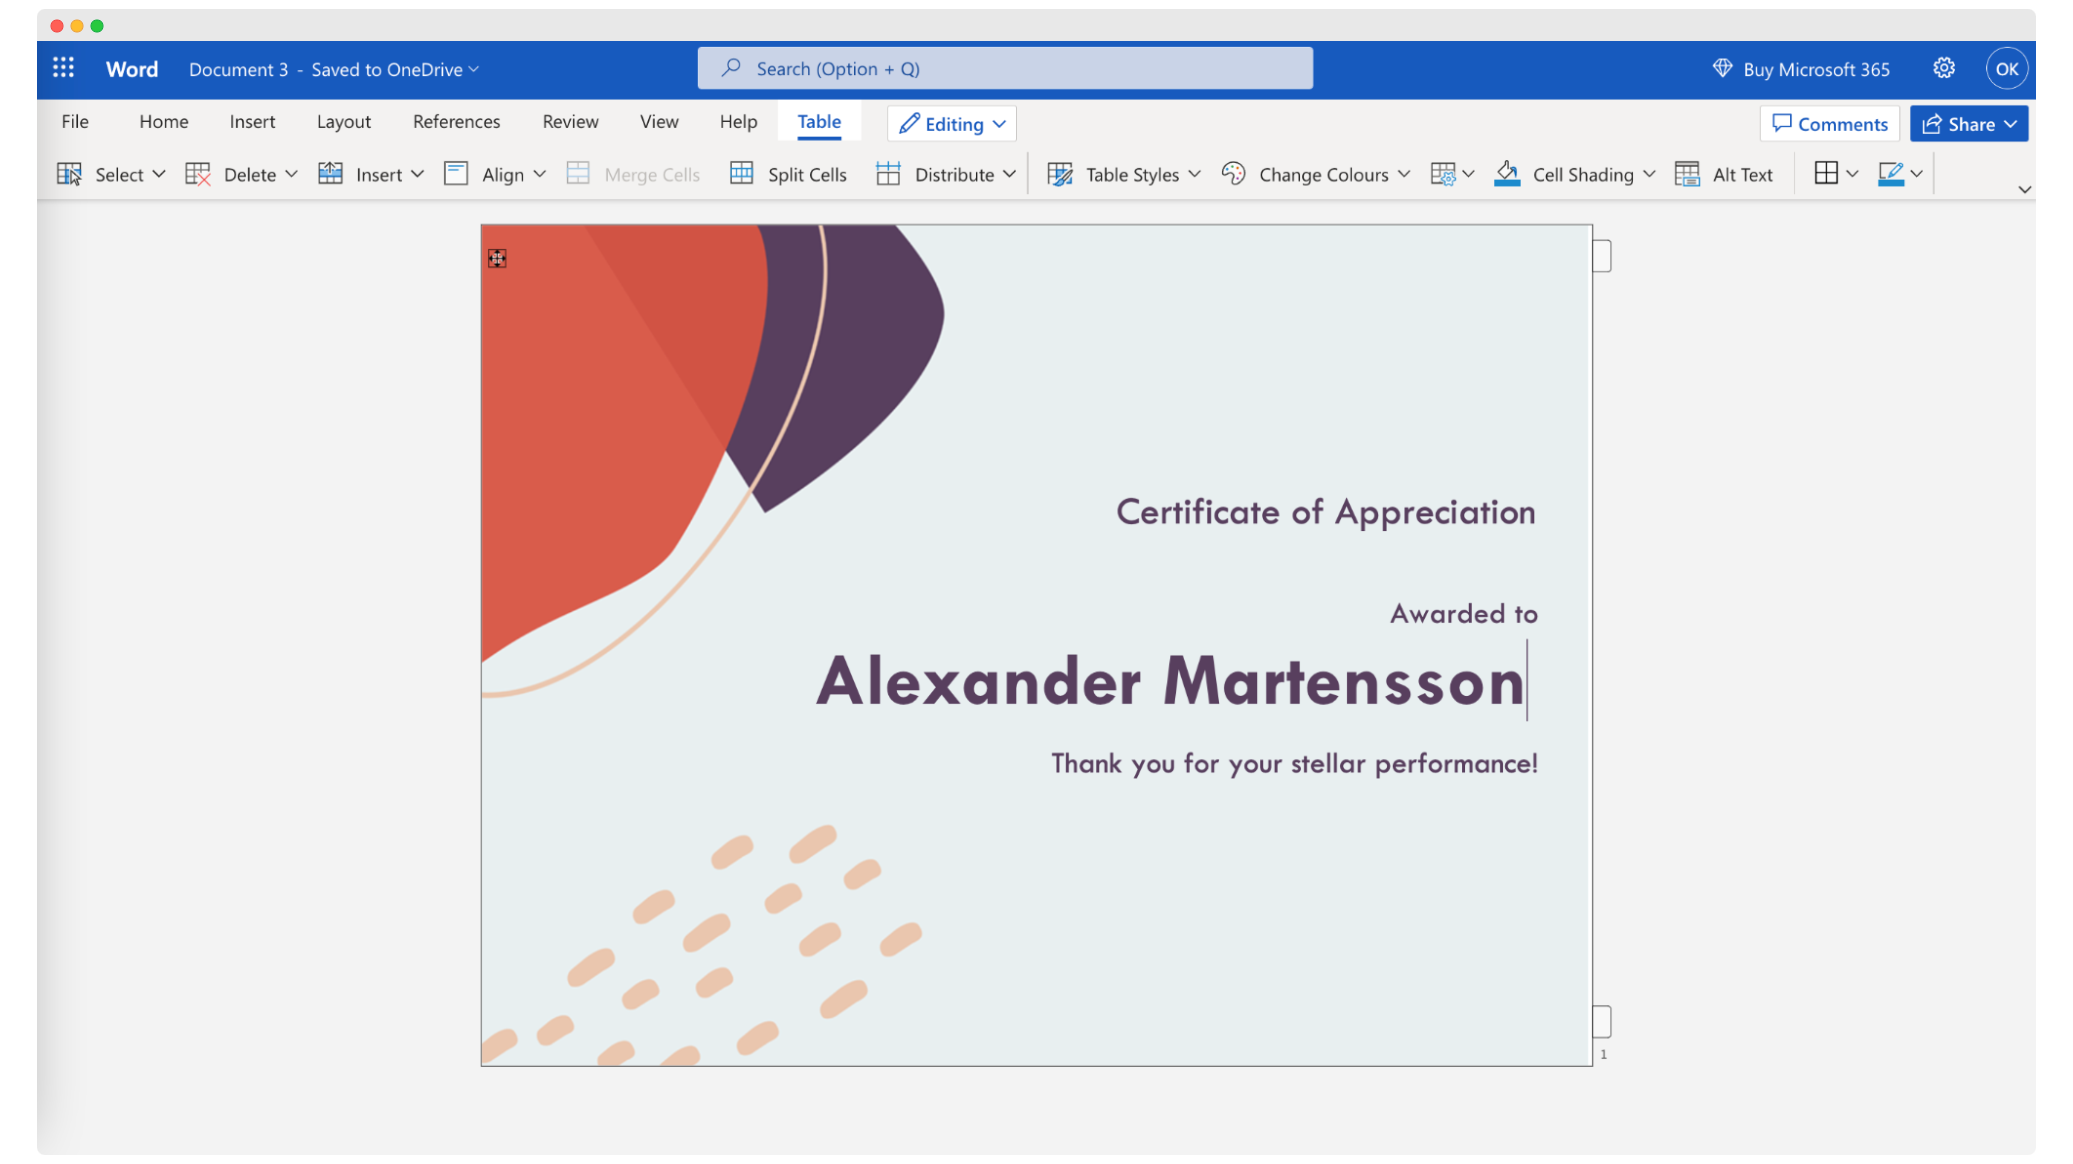
How to make multiple certificates with different names in Word?
The process of how to make bulk certificate in Word takes 5 steps:
Step 1: To do this, you will also need a list with your participants' data, such as one prepared in Microsoft Excel or Google Sheets. Save it in a convenient place, such as on your desktop.
Step 2: In Microsoft Word, go to Menu, Mailings, and then Select Recipients and Use your existing certificate list. Next, find the saved list in Excel and click Open.
Step 3: Highlight the place on the certificate where you want the names of the participants to appear.
Step 4: Then go to Menu, Mailings, Insert Merge and select the file with participant data. The participants' names should now be uploaded to the future certificate.
Step 5: If everything is correct, go to Menu, Mailings and click Finish & merge, Edit individual certificate documents, Merge all records, and save.
This is the answer to how to create bulk certificate in Word, allowing you to generate multiple awards with different recipient data. It may not be very intuitive, but it works.
If you want to find out more about how to create multiple certificates in Word, check out this piece: How To Make a Certificate in Word.
03 Photoshop
You can also create a batch of certificates in Photoshop from Adobe company. It has many supporters, but unfortunately, it is among the more expensive tools. It has very advanced design features, although, remember, it is not typical software for creating personalized certificates.
This tool may seem too challenging to use, but that doesn't have to be true. Let's see how to generate credentials with different names in this program.
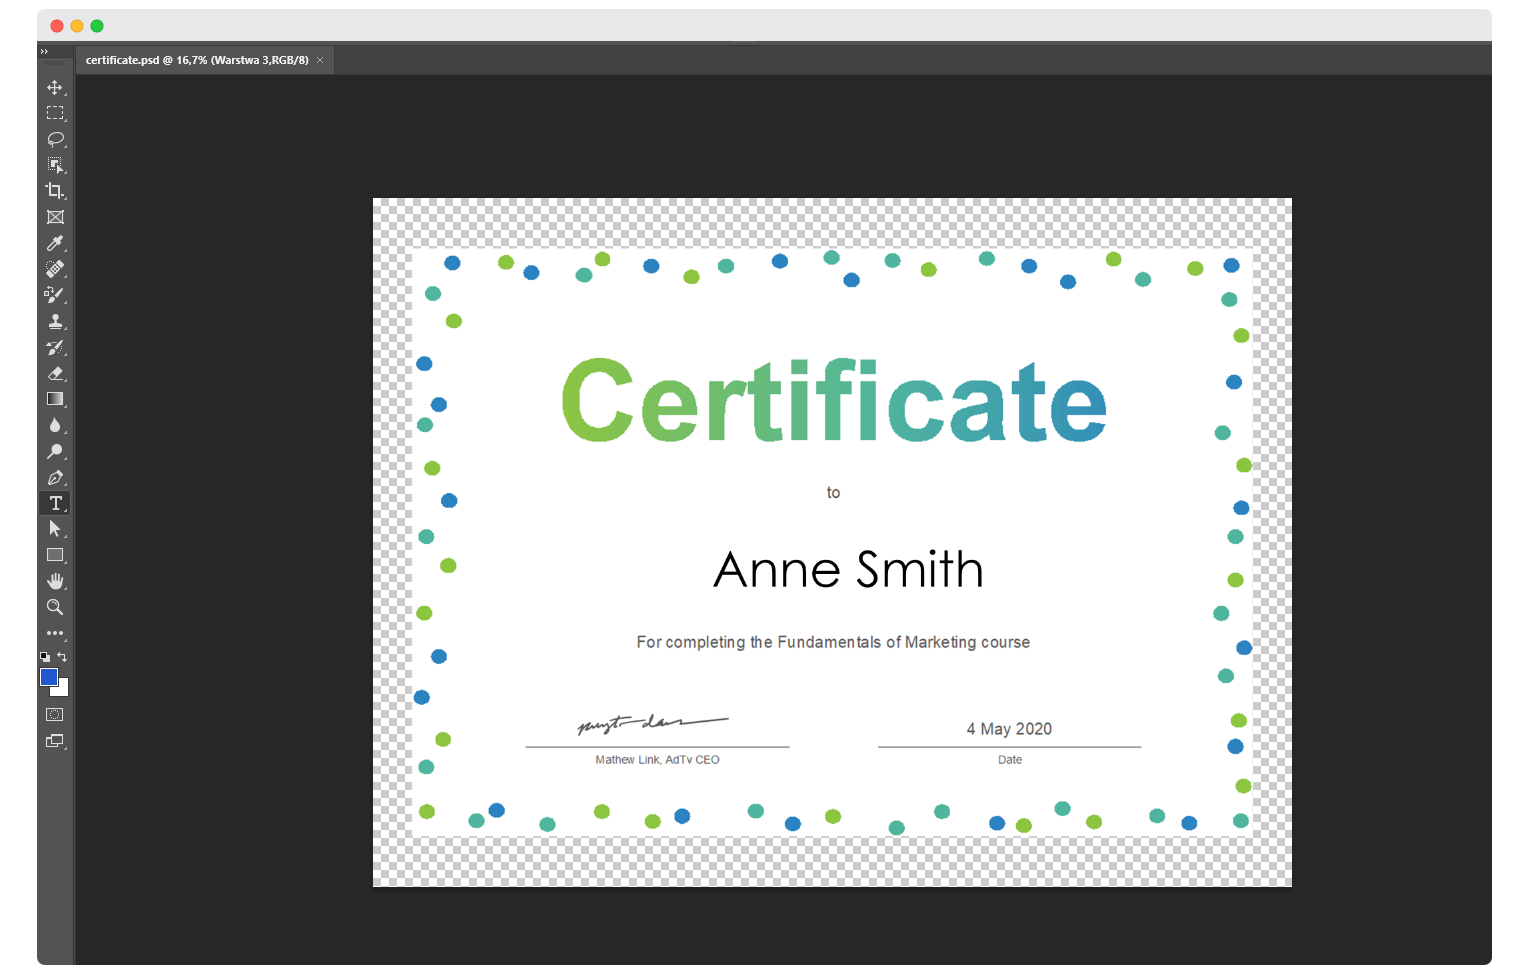
We won't tell you today how to create a credential from scratch in Photoshop or what certificate templates to use, but you have a lot of possibilities with this tool. Instead, we will cover how you can quickly add the names of course participants to multiple documents.
How to make multiple certificates with different names in Photoshop?
The process of how to auto generate certificates with different name of participants in Photoshop takes 6 steps:
Step 1: Well, once again, you will need a ready-made list of participants made in Excel or Google Sheets. Save it in a visible place.
Step 2: In your project in Photoshop, select the layer on which you will work. The names of the participants will be loaded into it.
Step 3: Go to Menu, Image, select Variables, and then the Define option. Then, select Text replacement and click Next.
Step 4: Now click Import, find the previously saved certificate list of participants, confirm your activities, and confirm again.
Step 5: Now go to Menu, choose File, go to Export and select Data sets as Files. Choose the folder on your computer where the saved files will go and confirm. A message will appear asking for permission to make changes – select Apply to all, and then click Replace.
Step 6: Next, go to Menu, File, Scripts, and select Image processor. The option that interests you is Select the images to process. Click Select folder and indicate the place on your computer where you want to save the images. Also, click below Select in the same location, and Save as JPEG options below. Confirm.
This way, you will have certificates saved in PSD and JPG form. And that's how the whole process goes – it's not very difficult, although it will be helpful for you to practice a bit to memorize it.
04 Canva
You can also consider the Canva program for generating multiple personalized certificates, but here you will go a little slower. The process of how to create multiple certificates in Canva mainly relies on manually duplicating designs for each participant.
Canva’s free pricing plan does not give you the possibility to upload a ready-made list of participants. Therefore, you will have to duplicate your credentials. If you need a few documents, this solution may pass. But if you need hundreds of files, this is not a good option.
One way or another, here’s how to make multiple certificates with different names in Canva.
How to make multiple certificates with different names in Canva?
The process of how to create multiple certificates in Canva takes 3 steps:
Step 1: Complete the first name on the certificate. Once you do that, click above the top right corner of the design, and find Copy page symbol, which duplicates the design.
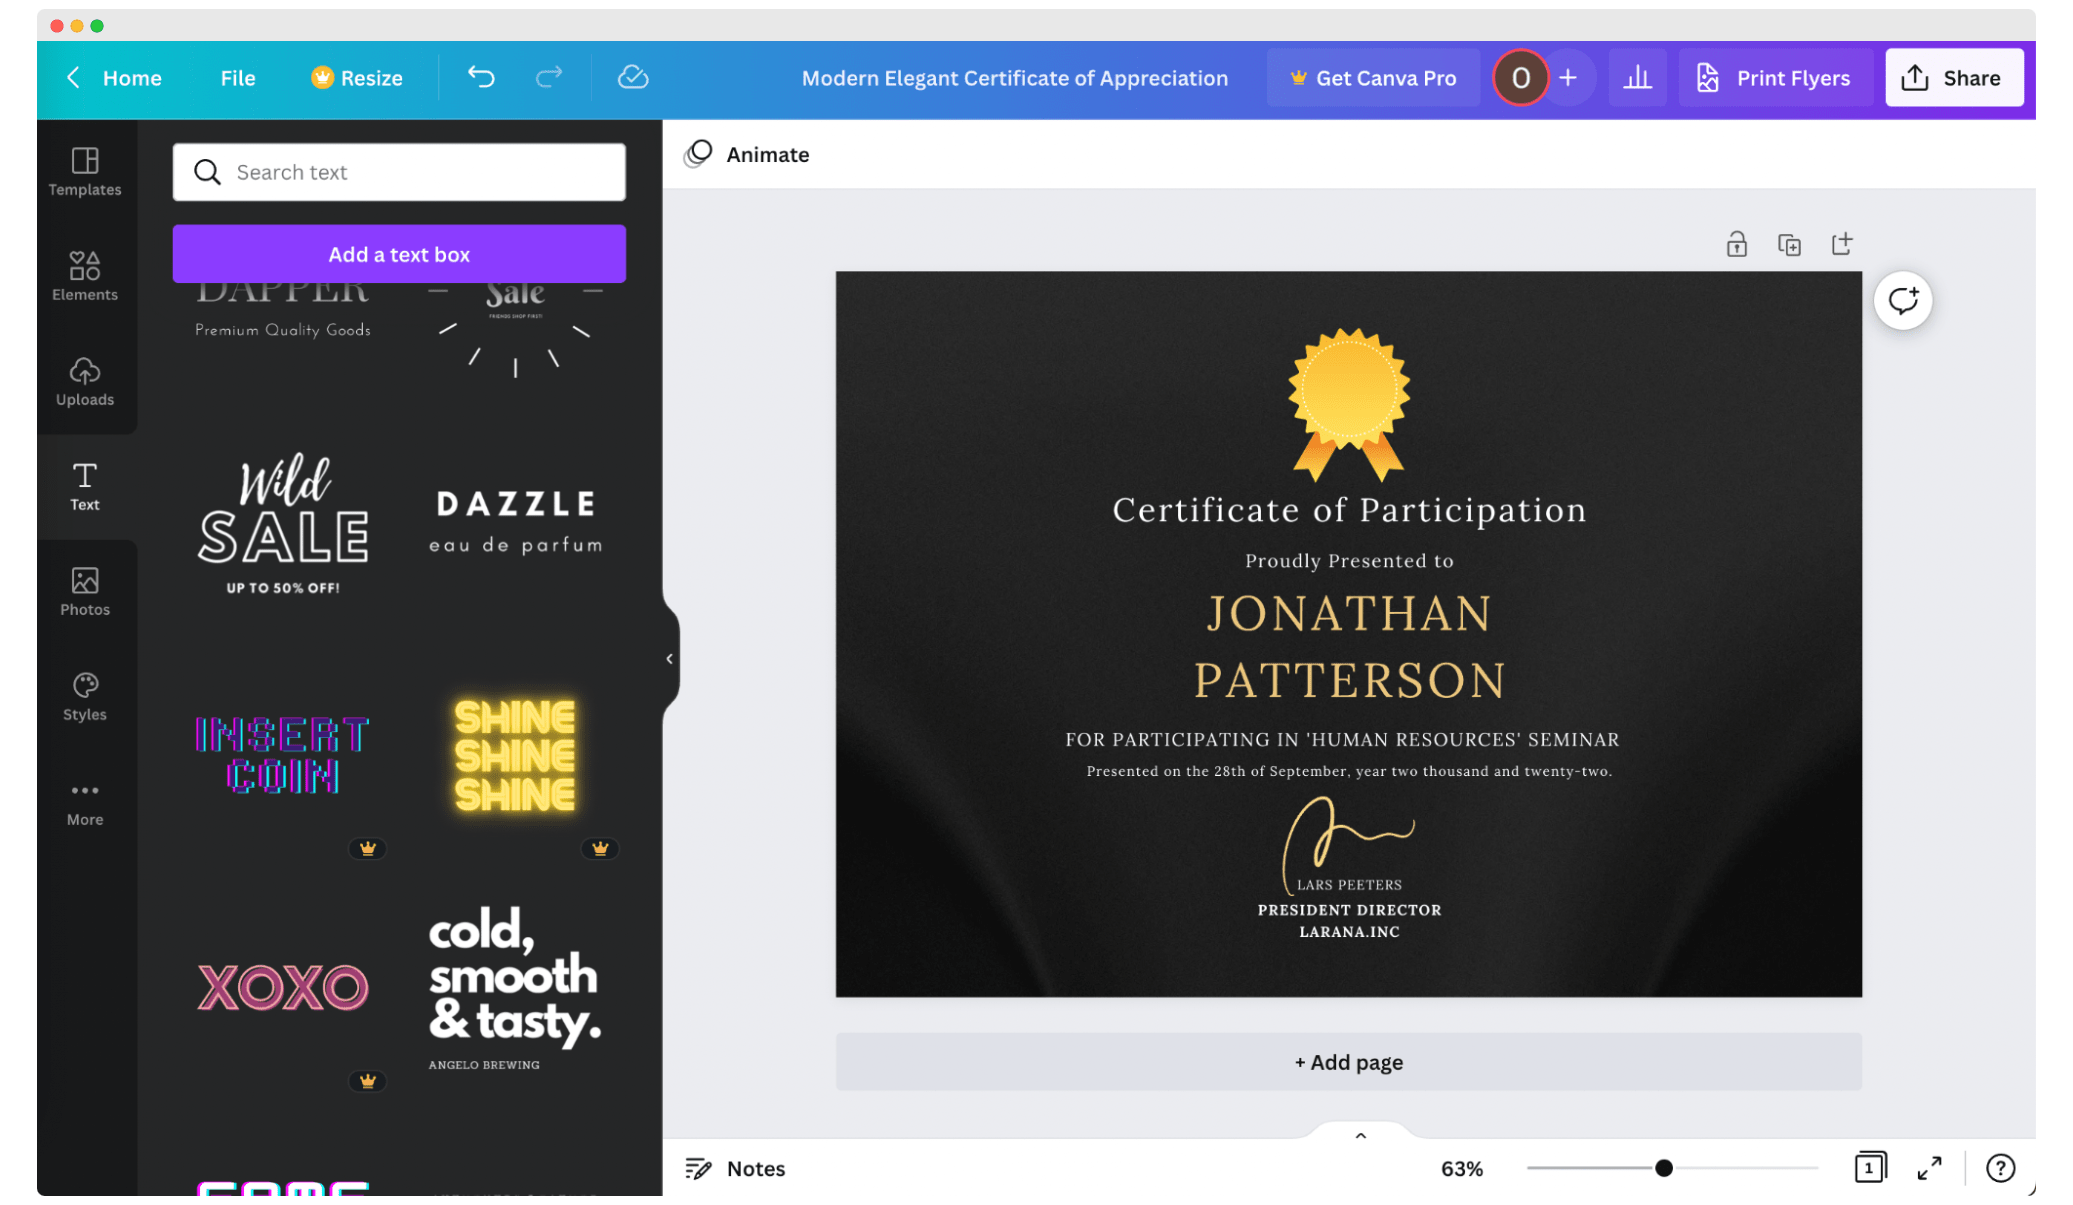
Step 2: A duplicate certificate is shown under the output project. Now manually change the name in this document.
Step 3: Repeat this action as many times as you need, and your work is done.
Create and Send Digital Credentials
05 Google Slides
Our last suggestion for generating multiple documents with individualized certificate names is similar in scheme to Canva. We are talking about Google Slides and the fact that you can also duplicate a project many times in this system to update the names of certificates.
Although Google Slides has fewer capabilities than Certifier, Canva, or Photoshop, it is also suitable for designing diplomas.
We talked more about Google Slides Certificates in this article: How to Make Google Slides Certificate in 5 Steps.
After you finish designing, customize the names of your participants.
How to make multiple certificates with different names in Google Slides?
Step 1: First, design the appearance of the future certificate. If it is ready, still enter the name of the first participant.
Step 2: Thanks to the previous step, you can now duplicate the prepared slide. To do this, right-click on the slide and click Duplicate slide.
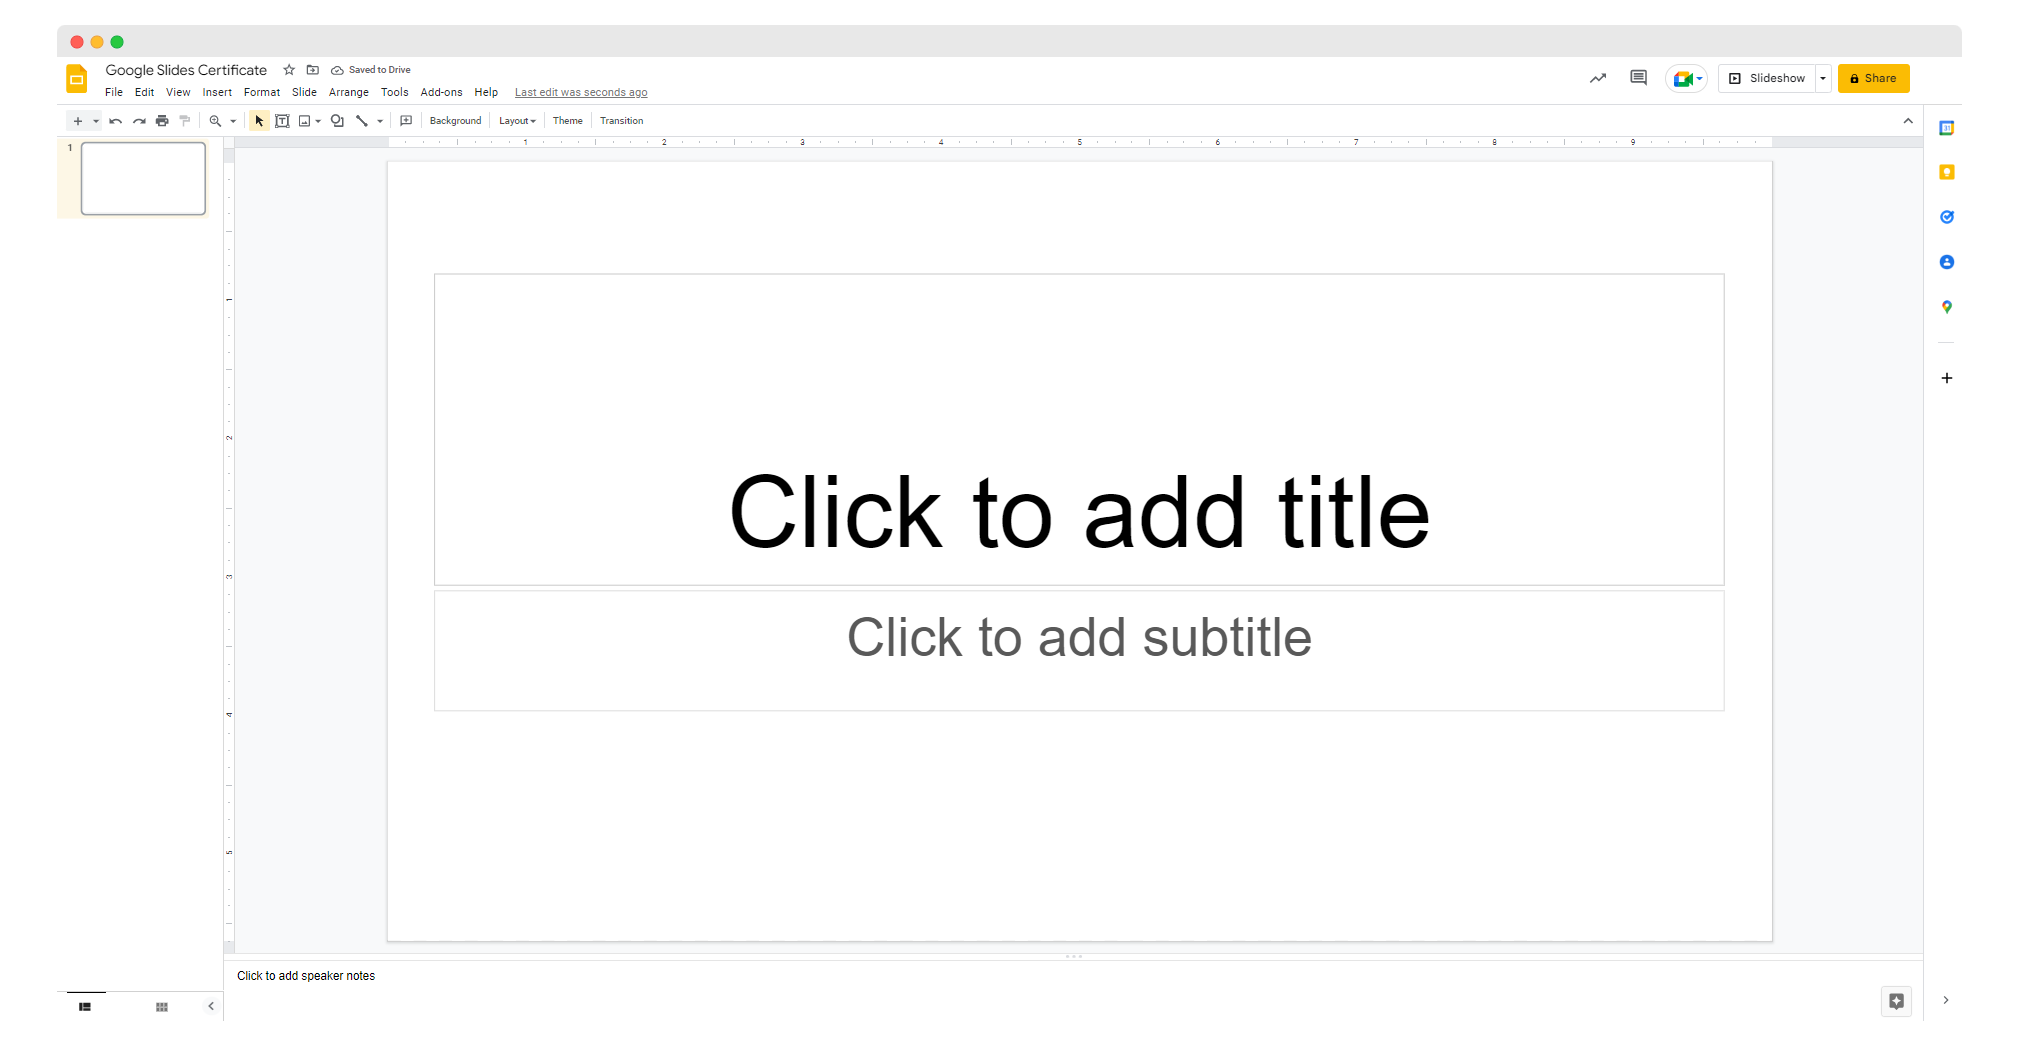
Step 3: A new slide will appear, which will look identical to the first one. Change the name of the participant manually - just like in Canva, as many times as you need, and you're done.
These are all our suggestions. Each of them speeds up your work in some way - some more, some less, so make a wise choice.
EXTRA #1: How to make multiple certificates with different names in Excel? You can't create certificates directly in Excel, but it’s an excellent tool for organizing participant data when using a certificate generator like Certifier. Excel lets you prepare a detailed list of names, email addresses, and other details required for certificate generation.
EXTRA #2: How to make multiple certificates with different names in PowerPoint? Design a template in PowerPoint, duplicate the slide for each recipient, and update the names manually. Save the file as a PDF for easy sharing. For larger batches, use Certifier to automate the process. Read more on how to make a certificate in PowerPoint.
To sum up
So, as you can see, there is a difference between auto-filling names in personalized certificates and doing it manually, as in Google Slides. You, however, don't have to worry about that because you have Certifier, which was specifically created as an automation tool for this type of task. Start for free to find out more about Certifier's capabilities. Our tool is intuitive, uncomplicated, and suitable for everyone, even individuals.
To create a bulk of certificates, choose our program.
FAQ: Make multiple certificates with different names
See the most common questions on how to auto generate certificates with different name of participants.


